
How to Brew your own Kombucha in 6 Easy Steps
In your efforts to improve health and become whole food optimized, I hope that you have discovered how delicious and nutritious kombucha can be. The health of your gut and the balance of bacteria within your personal microbiome depend on both the probiotics and prebiotics that you feed it. This includes delicious fermented foods that the healthy bacteria in your gut love. And what’s more delicious than kombucha?
If you are not sure what exactly kombucha is or if you missed my interview with Taryn, a brewmaster from 05 Tea in Vancouver, BC, be sure to check it out.

If you are aware of the health benefits of kombucha, including helping you maintain optimal gut, immune, brain, and overall health, and have been toying with the idea of starting to brew some of your own, I highly recommend you give it a go! It’s easier than you may think!
All you need is a SCOBY - or “Symbiotic Culture Of Bacteria and Yeast” to start with. Getting one from a friend who makes their own kombucha is the perfect place to start. But if that’s not an option, try acquiring one from a health food store, quality tea shop like 05 Tea in Vancouver, or even select places online.
Once you’ve acquired your SCOBY, you will need to gather a few key supplies: a large 1.5 L wide-mouth jar, coffee filter, rubber band, and 1 L glass jug or growler.
Now you are all set. Just follow my basic recipe and these 6 simple steps in order to brew your own delicious kombucha!
Basic Kombucha Recipe
1 litre filtered water
8 grams tea
80 grams organic cane sugar
1 live SCOBY

Step 1: Brew Tea
The first step in making your own kombucha is to start with some delicious tea. So, brew some tea - any kind you like, as long as it’s not too oily.
My favourite for kombucha is loose leaf black Keemun tea. I use 8 grams of tea leaves for 1 litre of boiling water, and let it steep for 2 minutes.
Since some people find using loose leaf tea a little intimidating, you can make the process even easier by using standard tea bags.
Simply boil a litre of water then toss in a couple tea bags of your favourite tea. Let it steep until it tastes perfect to you, then you’re ready for step two.
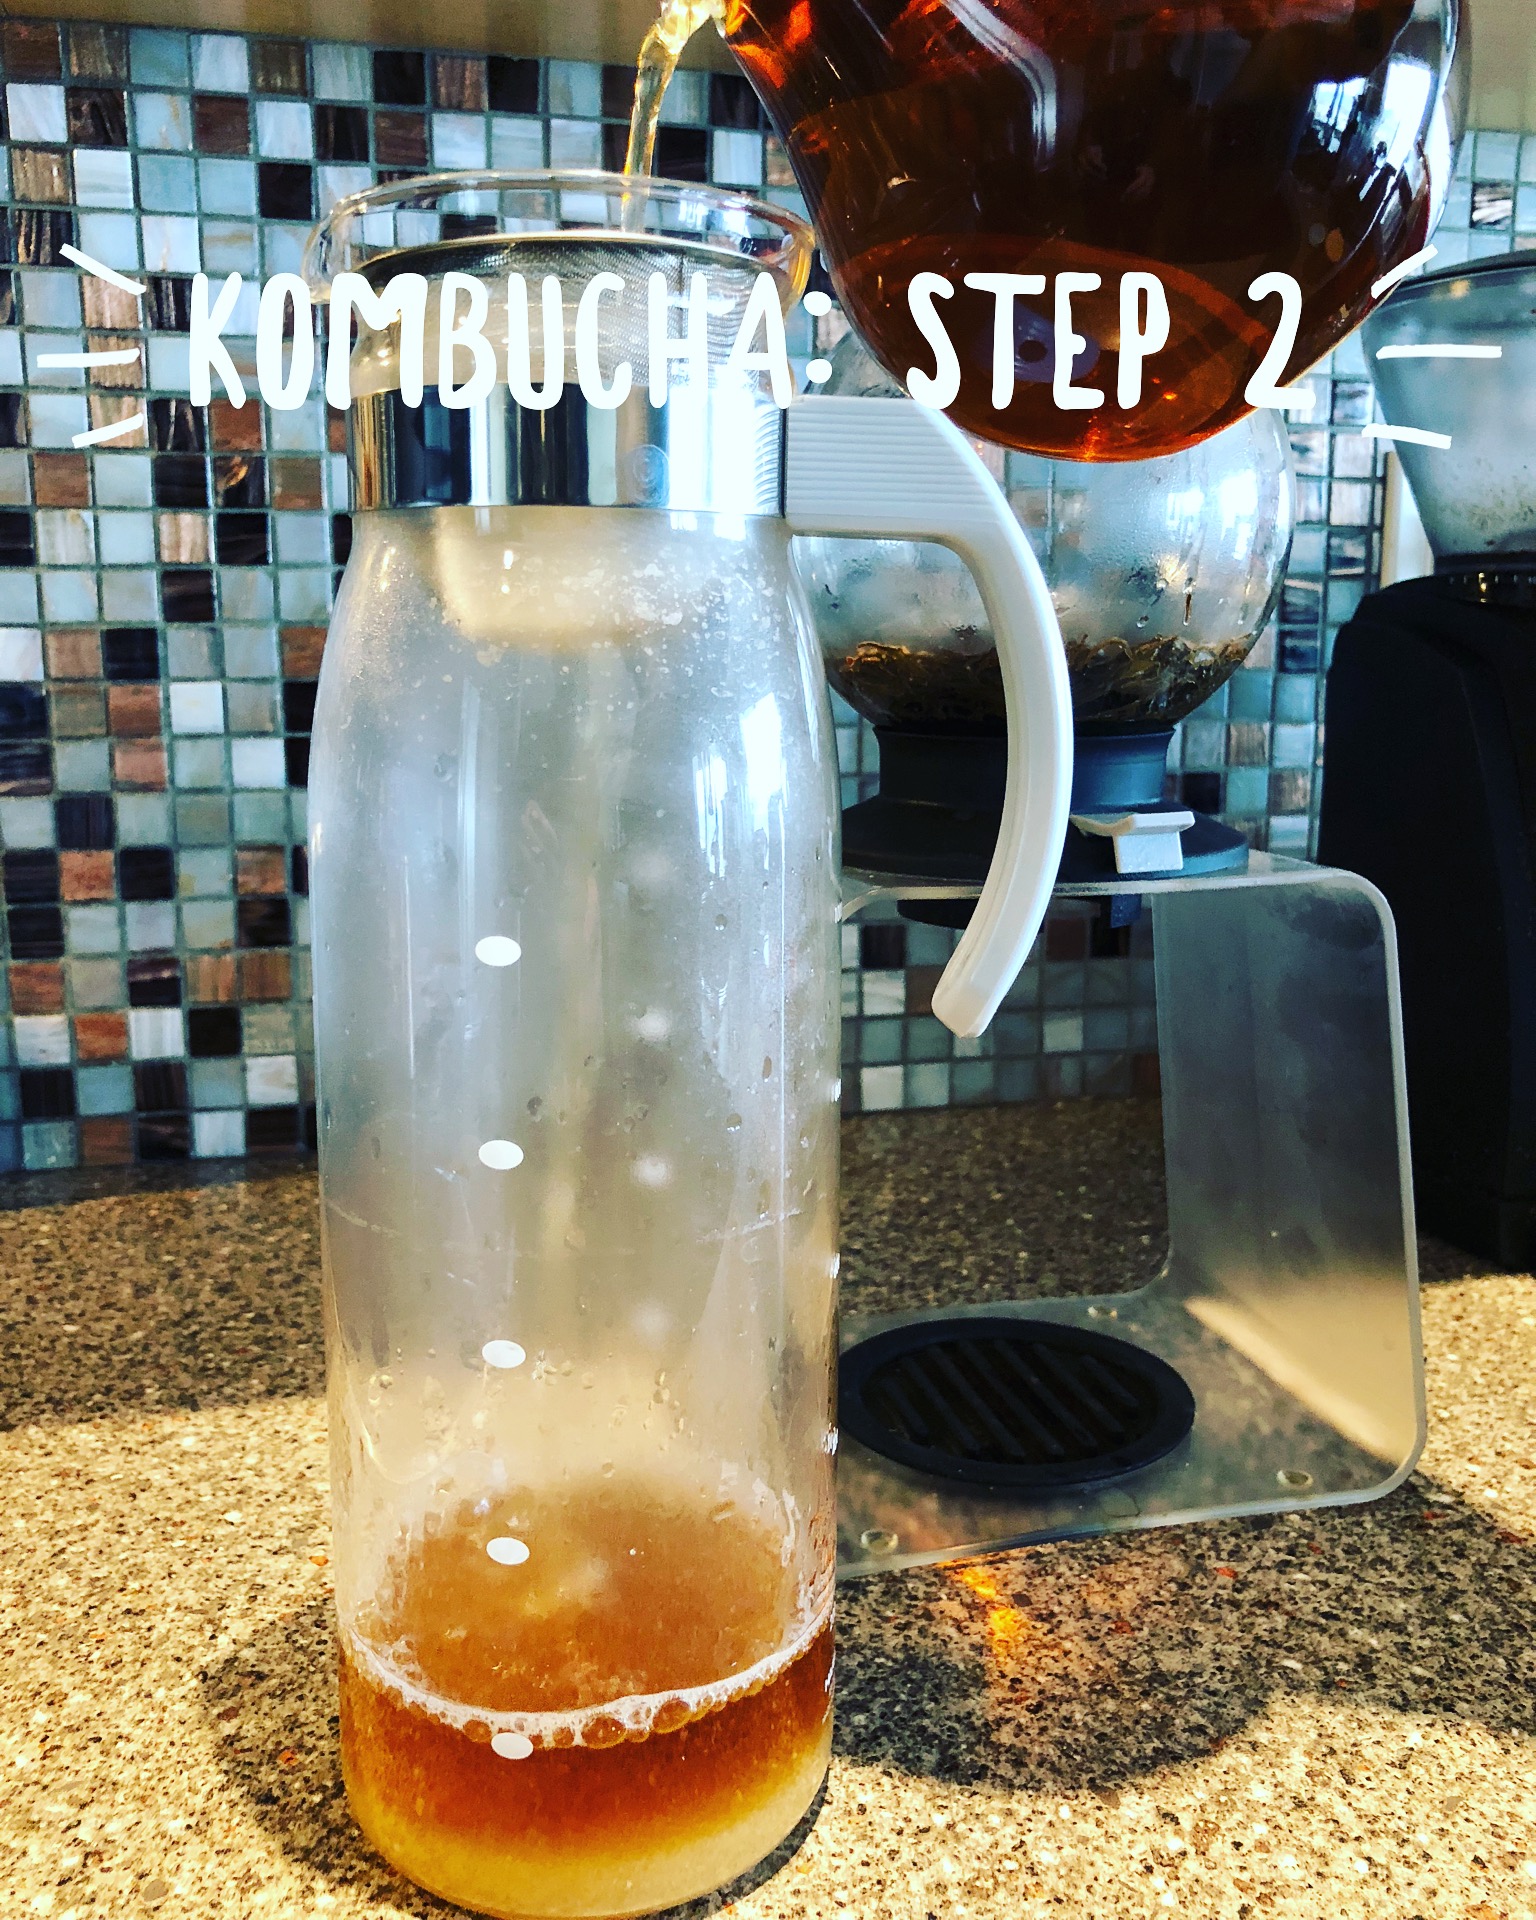
Step 2: Add Sweetener
Once it’s ready, combine your hot tea with some kind of sweetener. I use 80 grams of organic cane sugar per litre of tea, as I find this makes the best brew. But feel free to use any non-zero calorie sweetener like cane sugar, honey, maple syrup, coconut sugar, or even molasses.
A word of caution:
Raw honey can cause a proliferation of yeast build-up that can result in excess alcohol production.
To fix this problem, bathe your SCOBY in water or white vinegar to rinse off the stringy brown yeast buildup, or do a couple of batches using sugar (organic cane sugar is best) to balance things out again.

Step 3: Let it Cool
Let the now-sweetened tea come to room temperature then slowly add it to your SCOBY in a large wide-mouth jar that can hold at least 1.5 litres.
Cover the opening with a coffee filter then secure it down with a rubber band.
Allowing the tea to cool completely is an important step. If you add hot (or even warm) tea to your SCOBY, the warm temperatures can kill it.
SCOBY’s are generally pretty resilient, but they are still living organisms, and one thing they do not like, is an environment that’s too warm.

Step 4: Fermentation
Now that your SCOBY and sweetened tea have come together, you must give it some time and space to let the tea ferment.
Place your jar in a cool, dark place - out of direct sunlight, in a spot that gets plenty of air flow but is far away from any plants, garbage cans, or compost bins. Your garbage and plants may contain mold or bacteria that could drift over your kombucha, negatively affecting the type of bacteria that grows in it.
Once you have found the perfect place to store your batch, leave it alone to ferment for 3 to 7 days. I keep mine under the stairs in a concrete “cool” room - ideal for both wine storage and kombucha brewing. Under these conditions, I find 4 days of fermentation to be perfect!
How do you know if your kombucha has fermented long enough? Dip a straw along the side of your mixture, carefully passing the SCOBY. Remove a small amount and taste it. As soon as it tastes good to you, it’s ready!
“Trust yourself! I made the mistake with my first batch of tasting it, thinking it was delicious, then immediately thought if it was this good now, it will be even better the next day. I was wrong - the next day, it tasted like vinegar. So the moral of this story… when you think it’s delicious, it’s ready!”
Step 5: Bottle Conditioning
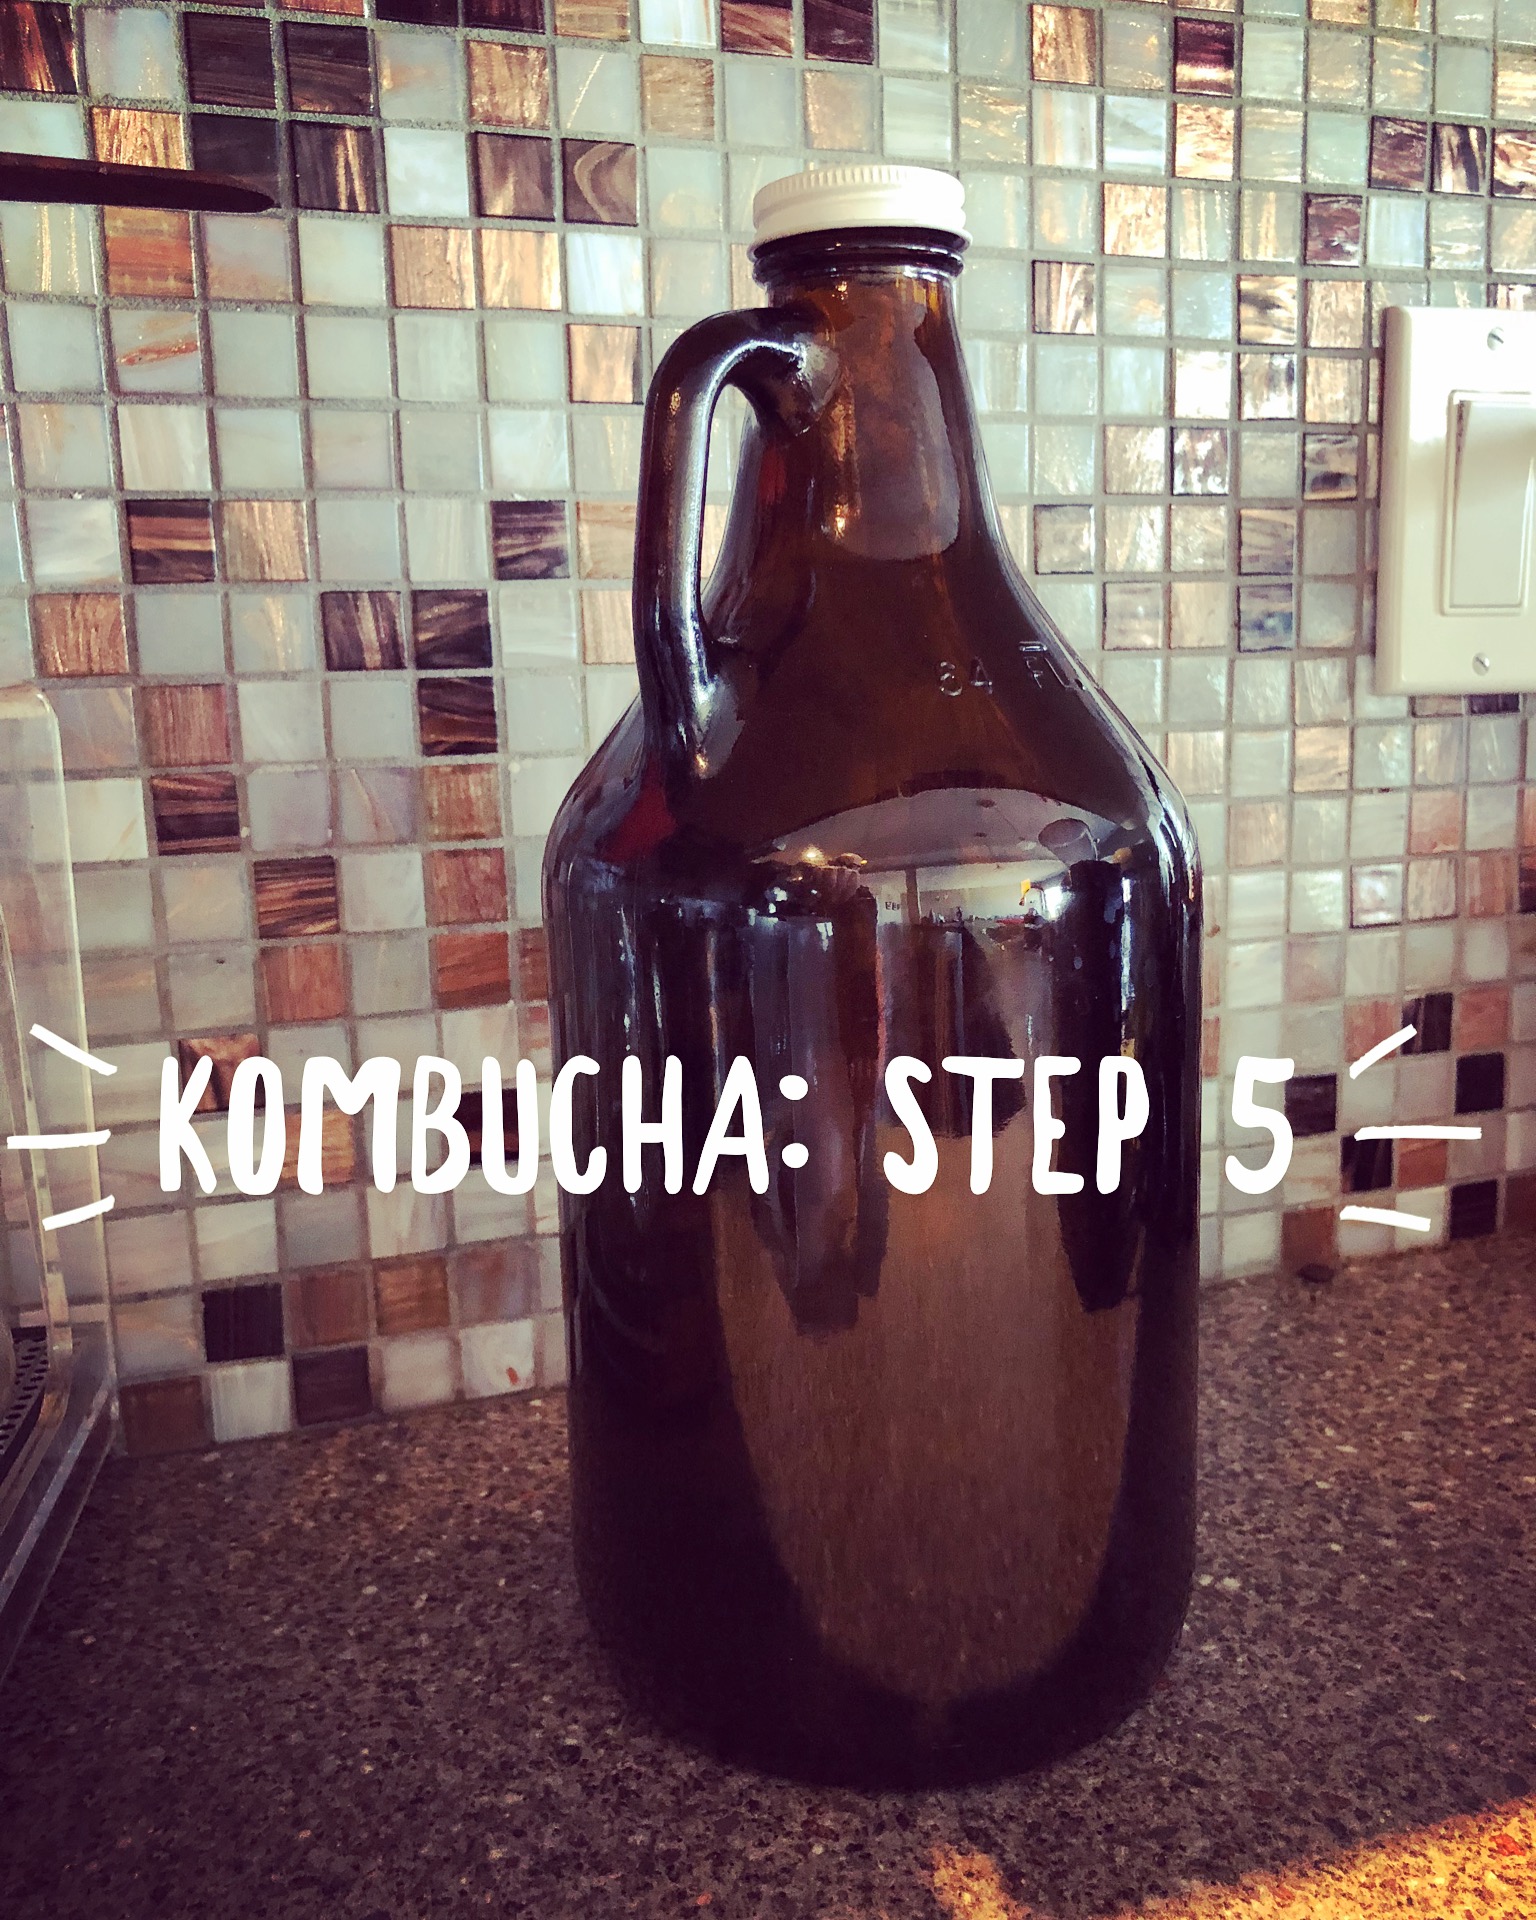
Once the tea has fermented to your liking, it’s time to let the carbonation process begin. Though this step is optional, in order to produce a home kombucha brew that rivals store-bought, this step is important.
To carbonate your kombucha, we will use a process called “bottle conditioning”. Carefully pour the fermented tea only through a funnel into a sturdy glass jar or jug, while leaving the SCOBY behind in a bit of kombucha. I recommend pouring it into a 1 L, or smaller, glass growler with a metal twist cap. Be sure to leave 1/2 to 1 inch of space at the top, then cap it tightly. Leave the bottle on the counter, sealed, for about 2 days. Some of the bacteria and yeast from your SCOBY are still present in the kombucha, and when stored at room temperature they continue to produce carbon dioxide. The sealed growler traps the gases inside, and eventually they are forced back down into the liquid, thereby carbonating it.
After two days, carefully release the pressure. You should hear a satisfying “hissss” as you remove the lid. That’s the sure sign your kombucha has become carbonated and is completely ready.

Step 6: Chill
After it’s been carbonated, chill your new kombucha brew in the fridge for at least a few hours, then enjoy the fruits of your labour!
And that’s it! Your kombucha is ready to drink!
As you can see, the process of making your own quality kombucha at home is really not that complicated, and I certainly hope you decide to give it a try.
All you need are a few supplies and a SCOBY of your very own. Once you start brewing your own kombucha and start enjoying the cost savings and health benefits, you’ll never go back to store-bought kombucha again.
In fact, once you start becoming a brew master yourself, you’ll probably want to start experimenting with different flavours and varieties. This, I will leave up to you, though I do recommend following a recipe like the one I offered in this post the first few times you brew until you can reproduce the basic brew you like the most.
Then, it can be fun to play with different flavourings and recipe variations.
“Keep a back-up SCOBY just in case something does go wrong.”
As you make kombucha, your SCOBY will eventually grow into layers. These layers will naturally separate along the edges and should be fairly easy to pull apart (if they aren’t, your SCOBY isn’t ready to split yet). You can save your new SCOBY for later by storing it in some kombucha from your most recent batch in an airtight container in the fridge.
And there you have it!
If you currently make your own brew or have a favourite flavour profile, I’d love to hear about it! Let me know all about your SCOBY or any helpful tricks you’ve learnt along the way by emailing me or leaving a comment below.
Happy Brewing!
